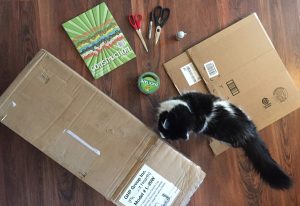
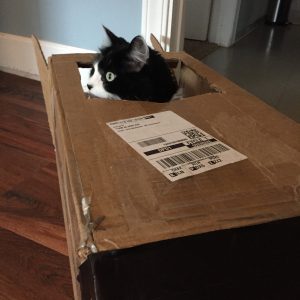
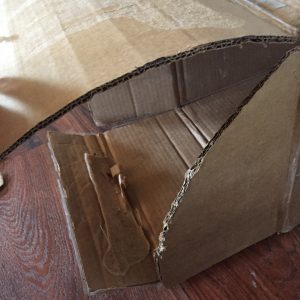
STEP 1 – Gather your materials (be sure to try out the box to make sure it’s a good size to fit inside)
I found a nice oblong box and gathered some decorative materials – glitter glue, a sharpie, construction paper, duck tape, as well as scissors, and extra cardboard.
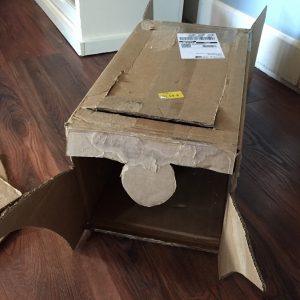
STEP 2 – Cut the flaps into curved shapes, and a rounded front, and cut a hole in the top. I also made a circle turbo-y thing on the back (aka, the butthole)
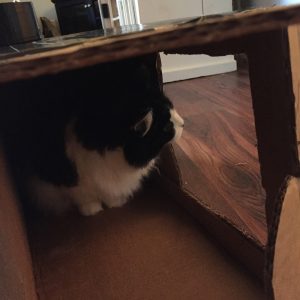
This is how you create the shape of your cat mobile! Use the flaps on the front and back of the box to create the cool backend of the car and curved front side. (Make sure you leave it open in the back so you can run in and out of it, as well as plenty of room to hide inside.)
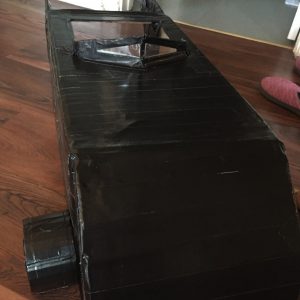
STEP 3 – Cover in duct tape (or paint, construction paper, mod podge… whatever you want to use to decorate)
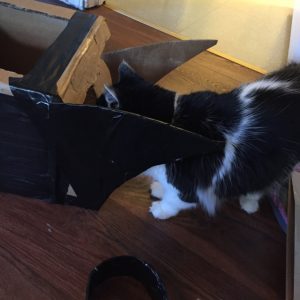
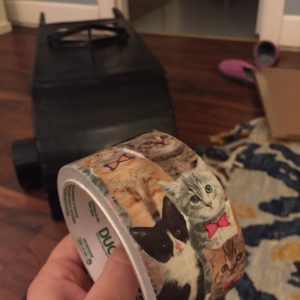
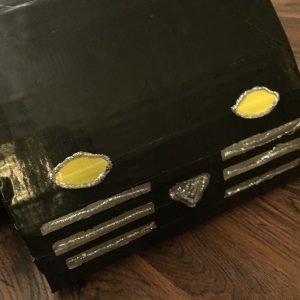
I ended up using four difference colors of duck tape to decorate my catmobile: black, yellow, silver and KITTY DUCK TAPE! But first, I covered everything in black to give it that sleek look.
STEP 4 – Add on wheels and window, and a seat back
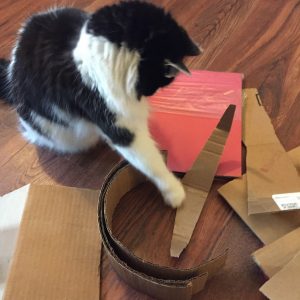
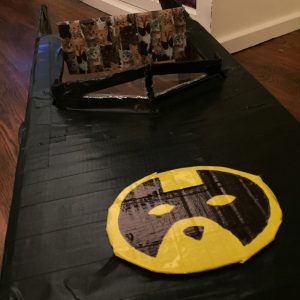
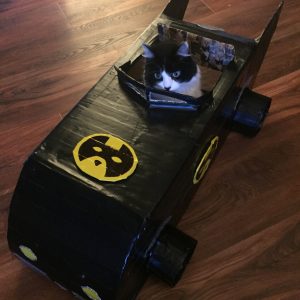
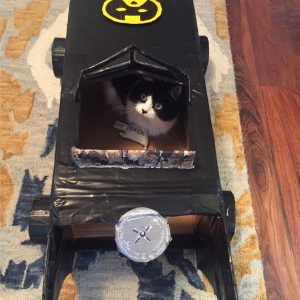
I used some spare cardboard to create four wheels (strips of cardboard taped into a circle shape), and covered them with black duck tape. For the little window I cut this little triangle and use some of the plastic from the duck tape to make a clear window pane! I covered some extra cardboard with KITTY DUCK TAPE to make a really cool seat cover.
STEP 5 – Add finishing touches — headlights, glitter, and the cat signal emblem
I finished off the car with some accents of silver and yellow duck tape. And don’t forget to add some GLITTER GLUE (watch out though, it really sticks to your fur!) for some sparkle. And of course, create your own unique cat emblem–the cat signal!
And then you’re off to save the world!
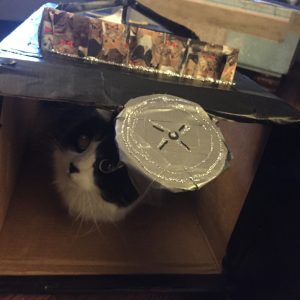
The catmobile also makes an excellent hiding spot during hide and seek games.
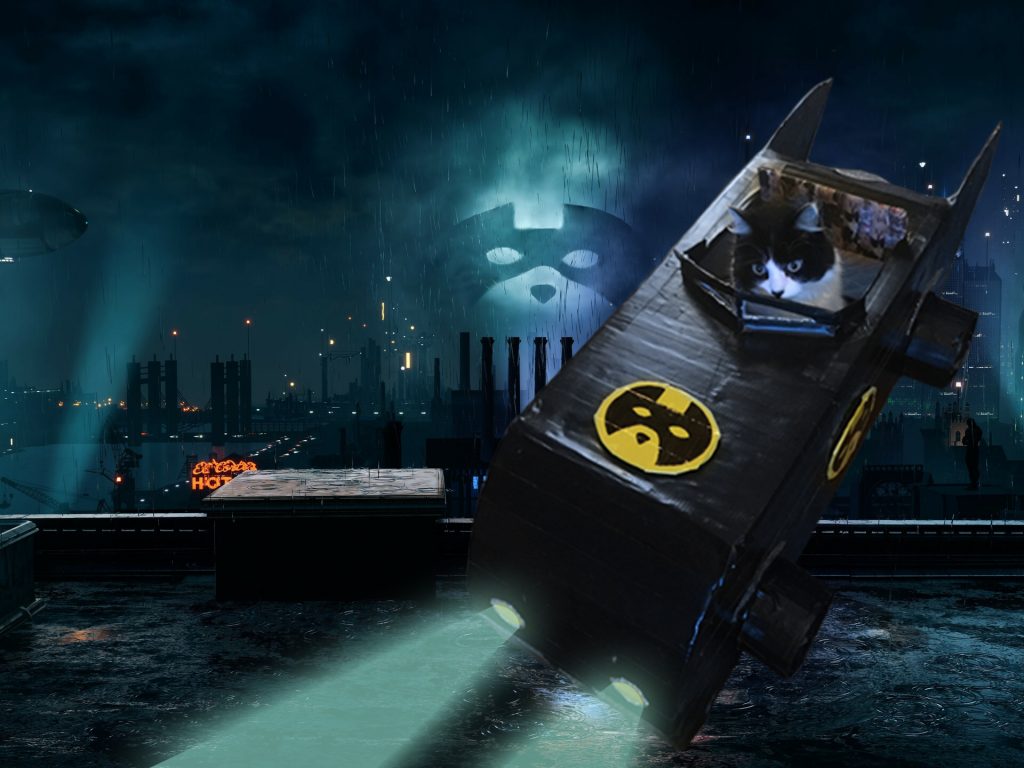
Take a look at my catmobile in action!
